Wednesday 9 May 2012

9th May, 2012

In my lesson today I created two versions of my final montage to I could later decide which one I wanted to choose for my final version. 


After I had made these I went onto update my documents in which I stated what I had created, how, and why. By ensuring these were up to date, it put me in the position that everything would be clear and my review would be easy to write at a later date. 

4th May 2012

In this lesson, I found two more images that I wanted to use on my montage. I found them on http://www.freedigitalphotos.net 


I then edited these images in Fireworks. For the image of the circular quay in Sydney, I edited the hue and saturation; and effect which I haven't used before, in order to make the water a lot more turquoise in colour, along with making the sky and buildings brighter.  I then added a border to this image to make it  fit in with the other montage image I had already produced; keeping the theme consitent. After I had edited this image, I went on to edit the image of the koala. To edit this image, I used the contrast and brightness tool to brighten the background, then I used the marquee tool to select the koala bear in the foreground, and then edited his fur colour using the hue and saturation tool - this made him stand out even more from the background. After this, I thought my image looked a bit blurry, so I used the 'sharpen' tool to make the image more clear. I also extended the size of the koala's ears, using the paintbrush tool, and blended all the colours together so it looked realstic and professional.


Wednesday 2nd May, 2012

Orignal image


These image are what I considered using for the background of my montage. I firstly decided that I wanted to use the 2nd image listed, as I believed it looked very effective and original, but when reviewing this image, I decided that I would try and edit it more, because it wasn't long enough for my text to fit over the top, so I used the marquee tool on Fireworks to extend it. I then used the guassain blur tool to blur the edges, rather than have them straight cut. I decided to use Fireworks to edit these images because I am very familiar with Fireworks and know how it works.


Thursday 26 April 2012

25th April, 2012


Not finished yet; this is what I have done so far.
Firstly, using Fireworks I flipped the image vertically, and cropped the image. After this, I took the top half of the beach and flipped it so that it was on a curve; this curve will go around the edge of 'AUSTRALIA'. I had to ensure all the surrounding colours were the same, and that there were no white patches so this took me a long time to do, hence the lack of progress. After this, I cut away at the sea, but this isn't finished yet. 

Friday 20 April 2012

Airbrushing. 20th April, 2012


I think that airbrushing is acceptable to a certain degree, for example, I believe that changing the contrast and brightness to an image is acceptable, where as editing someone’s features is not. I believe that people should be aware of airbrushing, and that people don’t always actually look like how they are pictured. Airbrushing can have many consequences. For example, it has been known for people to develop eating disorders in order to look like how people are pictured in adverts and in magazines. People begin to feel very self conscious, and in desperate bids to look like the images in magazines, change their appearance according to them. In my opinion, there should be some sort of system so that we know what images have been airbrushed and enhanced; this could be simply done my adding a logo to an image, thus showing it has been airbrushed and this person doesn’t actually look like that. 

18th April, 2012

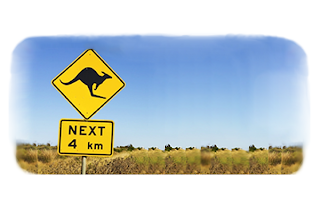
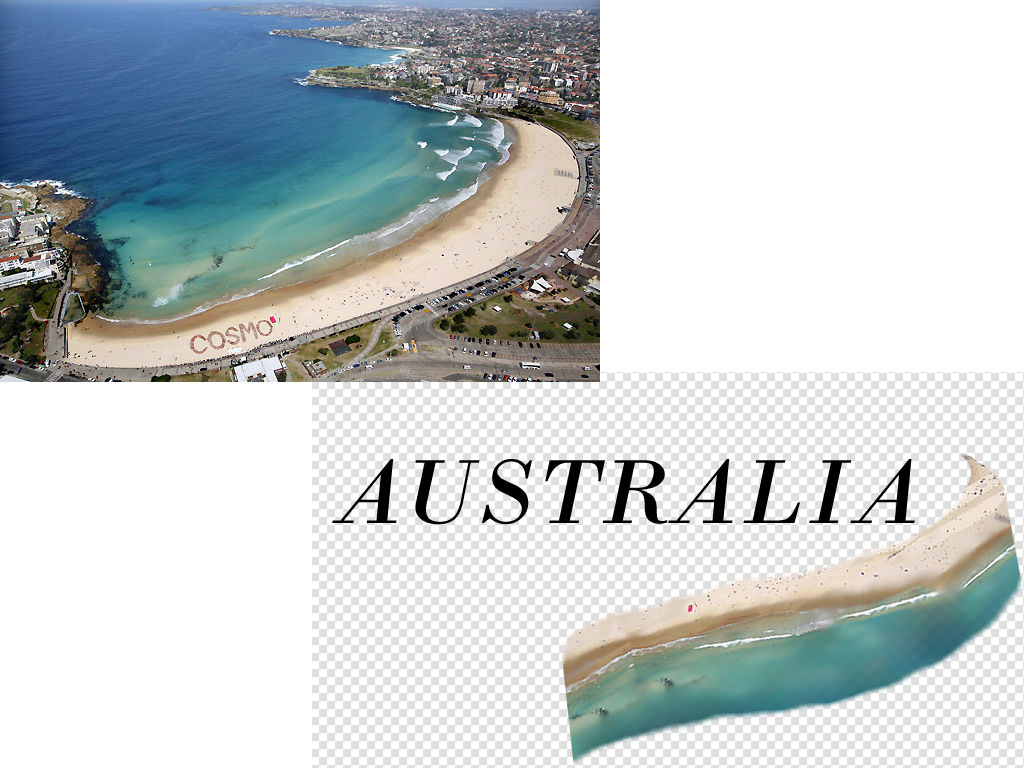
In lesson we started sourcing images that we wanted to use in our digital editing project, from various websites, saved them, and placed the appropriate information in an assets table.
I sourced 3 images; two from a 'royalty free website', and another of a normal website. 
I had a problem with the image I found on a website; it was exactly what I wanted but it didn't have any copyright implications within the site and no information on how I could contact the creator. I decided that in my assets table I would state that if I was to go into production, I would need to find away to contact the creator. 

Copyright:
“Copyright” allows the creator of work/image/video/piece of text, to make sure it is kept as their own, and to ensure that no one else can claim they created it, and take the credit. Not only work can be copyright, but also trademarks. These could be things such as slogans and titles. If another company was to take the saying “I’m Lovin’ It” for example, you would instantly recognize its owner; McDonalds and they could take legal action upon the people using this slogan, to fight for their own work. Copyright is important because it stops people taking advantage of others, for example, without the copyright law; other people could reproduce work and claim it was their own – this person could be praised, even though the work wasn’t theirs. Ultimately, copyright can be classed as ‘stealing’. Also, if you were the one producing work that was of a very high standard and quality, and someone else published this work nationally as their own, they would get the rewards, and your work would have gone to waste.